You will need:
- A printer and white paper to print out star(s)
- Scissor
- Glue stick
- Card board (any, e.g. cereal box)
- Crayons or koki's
- Punch
- Wool (red and green)
- Optional: beads [see first star in picture above]
Step 1: Google "coloring page star" on Google Images
You will now see this:
Step 2: Choose a star pic that you like (without copyright) and print it.
Step 3: Cut out the star. [If child is too young mommy must do it.]
Step 4: Put glue on WHOLE star (everywhere)
Step 5: Paste the star on the "ugly side" of a cereal box. Make sure to flatten the star so that there are no air bubbles.
Step 6: Cut out star.
It will now look like this:
Front Back
It you can still see letters or pics from cereal bow through white paper - it's okay.
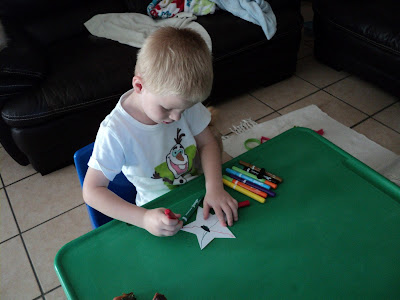
Step 7: Colour in
Here is the completed star: [The cool thing is that each star will be totally unique!]
Step 8: Take a punch and make two holes in the one "arm" of the star
Step 9: Tie a piece of red wool around TWO arm of the stars and make a knot

Step 10: Wind the wool 3 or 4 times around those two arms


Step 11: Move 1 arm back and repeat process (wind wool 3 or 4 times around TWO arms)
Step 12: Repeat until you have done it 4 times. Tie wool at the back.
Step 13: repeat procedure with green wool
Step 14: Take a string of green wool (length depends on where you want to hang it. Double the string, put through two holes and tie at the back.
Voila!


No comments:
Post a Comment